Help Scout
Last updated on:
October 28, 2024
Help Scout is used for receiving client project requests, communicating the details of offers to clients, receiving payment and store access notifications, as well as managing the projects once purchased. Note that while you are using Help Scout, any email you send from there, the clients see as a regular email in their email provider’s inbox so there is no need to mention ‘Help Scout’ specifically to the client.
Steps and timelines:
Send a first response to the client within a few hours of submission. If the evaluation is taking longer, let them know that the request is being looked at.
Get back to the client with a quote or further questions within 24 hours of submission.
Set expectations for when the project will be completed based on your workload.
Once purchased, thank the client for the purchase, thus acknowledging the receipt of payment, and notify the client about the start of the project and, ideally, the delivery date or the date when the first results will be delivered.
Once the project is completed, use the opportunity to get the client to reconnect again - perhaps suggest a task or two that you notice could benefit them.
If you do not hear back for a few days after you’ve sent the offer, send a follow-up to the client to see if they had the chance to review the quote and if they have any questions. After a few more days, you may also send another general follow-up.
Folders:
"Chats": if you are available to take on chats, you may set your status to "Available" (see screenshot). Any conversations started by the client will be in this folder.
"Unassigned": any ticket that has not been assigned to a specific person will remain in this folder.
"Mine": once you assign a ticket you’d like to work on to yourself, you will be able to find it here as long as it’s assigned to you as well as open or pending.
"Drafts": this is basically any draft. Everyone can see anyone’s draft.
"Assigned": tickets that are assigned to everyone else.
"Closed": all closed tickets, including the snoozed ones.
"Spam": usually works quite precisely, but it should still be checked in case anything ends up there by mistake. If this is not the case, tickets can be deleted.
Remaining folders depend of the workflow that’s been run - they contain all open/pending tickets assigned to anyone for each specific workflow.
Workflows:
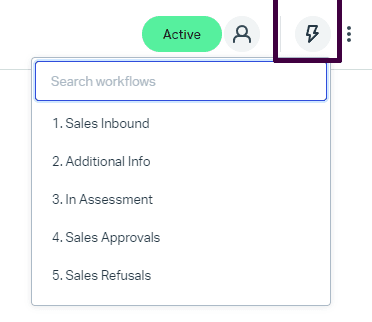
There are automatic workflows that are triggered depending on the source of the ticket however any later workflow needs to be manually selected.
"Sales Inbound": ticket that is yet to be assessed.
"Additional Info": used if you need additional information from the client.
"In Assessment": used while you are assessing the request.
"Sales Approvals": used once you’ve sent out the quote to the client
"Sales Refusals": used if no one from the team can assist the client.
Tags:
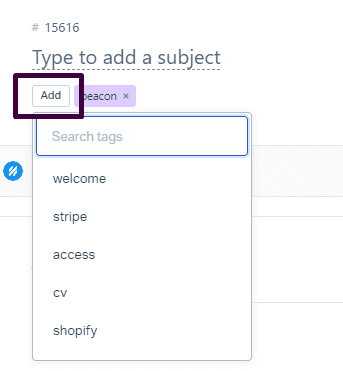
Tags can be manually added and can help indicate where you are in the project. Some instances: ‘purchased’, ‘in-progress’, ‘delivered’ or similar can make it more convenient for you while managing the project. The client is unable to see any of these.
Status:
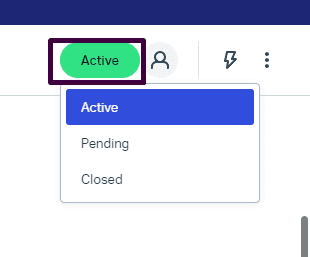
"Open": any incoming ticket will have this status, unless it’s changed by you. The ticket in the queue will have a bold style.
'"Pending": set by you in cases when you are perhaps working on the project, evaluating it or similar. Selecting this status will remove the bold style and deduct the number of tickets in the folder in the left side bar
"Closed": Permanently close the ticket.
The client is unable to see any status changes.
Snooze option:
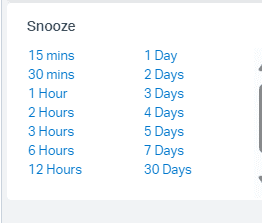
Used when you’ll need to follow up with a client at a later time. This option will temporarily close the ticket and automatically reopen at the selected time. When reopened, the ticket will have an ‘unsnoozed’ tag and will be in the ‘Unsnoozed’ folder as well to help make it more visible.
Note that the ‘days’ options do not differentiate between business days and weekends so keep that in mind when selecting the option (i.g. if you’re snoozing a ticket on Thursday to reopen on Monday, you’ll need to select the 4 days option).
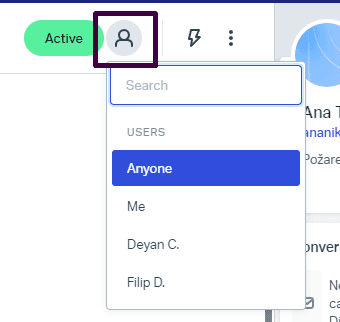
Assign Option:
Once you assign a ticket to yourself, you’re taking on the responsibility of contacting the client. The ticket will no longer be visible in the "Unassigned" folder.
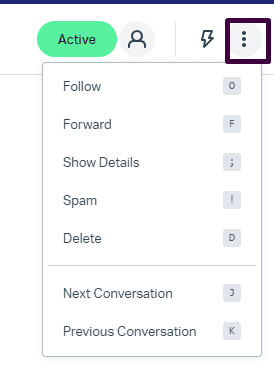
More options:
"Follow": use if you’d like to receive notifications with updates from the ticket.
"Forward"
"Show Details": sometimes useful to see the original email.
"Spam": select for obvious spam emails.
"Delete": not necessary to use
"Next Conversation": move to the next conversation in the folder
"Previous Conversation": move to the previous conversation in the folder.
Replying/Leaving notes:
While in the ticket, you have the option to reply or leave a note. Notes are visible to all users on Help Scout, however the client cannot see them.
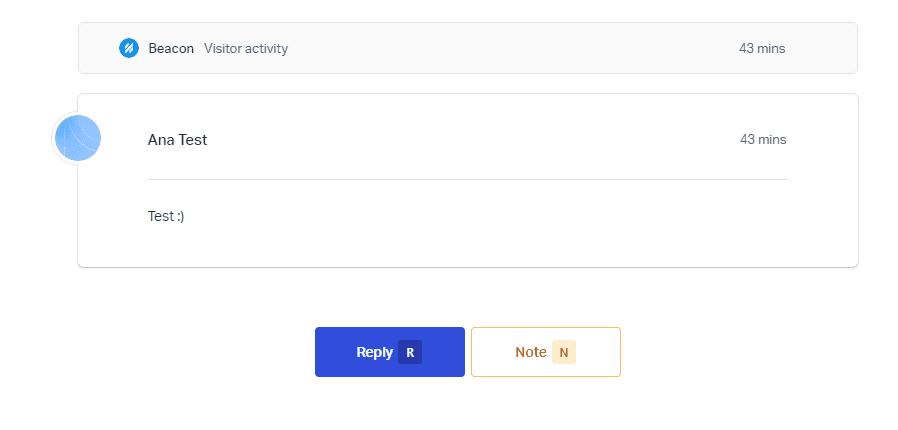
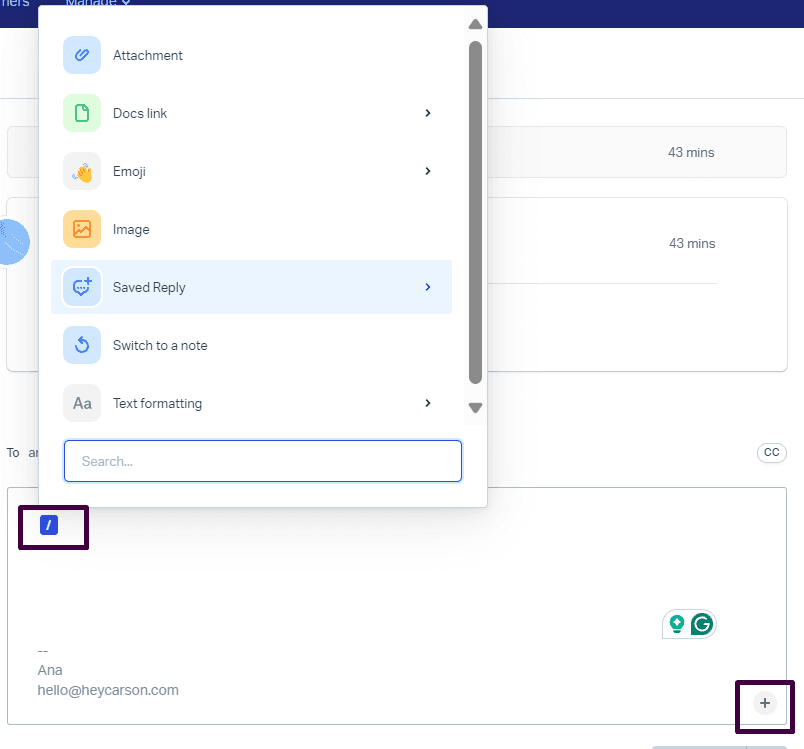
If the Reply option is selected, you may type out the response fully or use one of our saved replies. To browse the replies, type ‘/’ into the text box or press on the small + sign in the corner - a menu with more options will be revealed.
